WHY THIS RESOURCE MATTERS
Build an evidence trail, not a camera roll
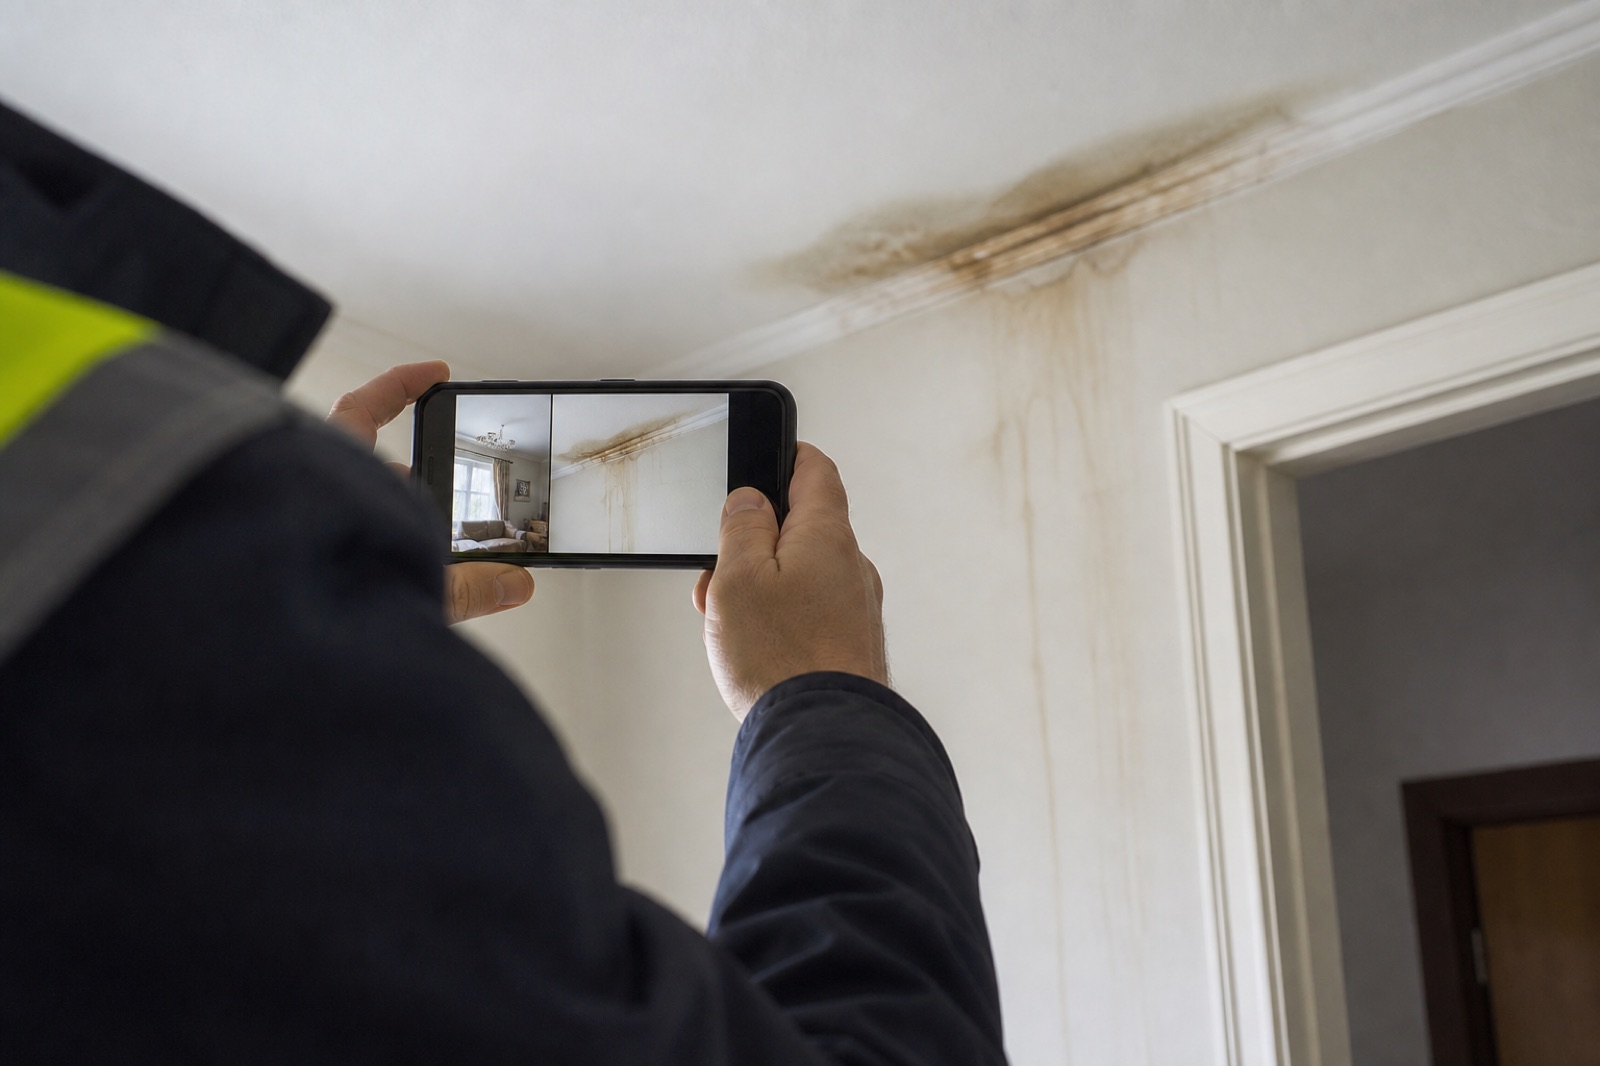
Inspection photography is useful when every image answers three questions: where is this, what should the reader notice, and how does it support the finding? A folder of close-ups without location or sequence may be visually sharp but still fail as evidence for repair, review, or handover.
Use a deliberate image set. Begin with orientation, move to the affected element, then capture the detail at an appropriate angle and scale. Keep the original image, record any markup as a presentation layer, and write a caption that states visible fact without claiming more than the photograph demonstrates.
CHECKLIST
What to include
- 01Unique finding title
- 02Exact area or asset
- 03Wide context photo
- 04Close detail photo
- 05Non-destructive annotation
- 06Date and responsible inspector
- 07Priority and status
- 08Required action
- 09Owner and due date
- 10Export and evidence archive
WHAT TO LOOK FOR
Photo-report failures that reduce trust
No orientation image
A detail cannot be located when the report omits the room, elevation, asset, or wider relationship to surrounding work.
Unclear point of interest
Busy photographs need restrained arrows, circles, boxes, or captions that direct attention without covering the evidence.
Missing scale or angle
Size and surface change can be misleading when the camera angle, light, distance, or reference object is inconsistent.
Detached metadata
Images lose value when date, location, finding number, author, and original file cannot be connected after export.
No completion comparison
A closed finding is difficult to verify when the after-photo uses a different position or omits the repaired detail.
FIELD WORKFLOW
How to use this template
- 1
Set the camera date and project structure, confirm photography permission, and decide how rooms, assets, findings, and original files will be identified.
- 2
Capture a repeatable sequence of orientation, element, and detail images, checking focus and exposure before leaving areas that may become inaccessible.
- 3
Write the finding while viewing the images, add minimal markup on a copy, and make the caption explain location and visible condition.
- 4
Export a report that keeps image-to-finding references intact, then collect after-images from comparable viewpoints before closing actions.
PRIORITY GUIDE
Prioritize the finding, then the evidence gap
Document before change
Capture unstable, concealed-soon, disputed, or safety-related conditions before work, cleanup, access restriction, or weather alters them.
Complete the evidence set
Add orientation, scale, caption, markup, or an additional angle when the existing image cannot support a clear action.
Archive for comparison
Retain consistent baseline and completion views for maintenance trends, progress, recurring defects, and future inspections.
FIELD EXAMPLE
Example: three images explain one defect
For damaged flashing, take an elevation image that identifies the building side, a roof-zone image that shows the parapet and nearby penetration, and a detail showing the open joint. Circle the joint on a report copy without altering the original. The caption should identify location, visible separation, weather at inspection, and any interior staining reference. A repair photo from the same roof-zone position then provides a meaningful comparison.
BEFORE YOU START
Adapt it to the job
Names, inspection frequency, acceptance criteria, retention rules, and sign-off responsibilities vary by project and jurisdiction. Remove irrelevant items and add the exact standards, drawings, specifications, and responsible people that apply to your work.